EPDM rubber roofing is a popular choice for property owners looking for durability and weather-resistant performance. Known for its flexibility and long lifespan, it’s an excellent option for both residential and commercial buildings. If you’re exploring rubber roofing in Atlanta, this installation guide will help you understand the process from start to finish.
What Is EPDM Rubber Roofing?
Ethylene Propylene Diene Monomer (EPDM) rubber roofing is a synthetic membrane made to withstand extreme weather conditions. Its ability to resist UV rays, hail, and temperature fluctuations makes it an ideal choice for flat and low-sloped roofs. Before you begin installation, ensure your roof deck is clean, dry, and structurally sound to support the new membrane.
Step 1: Prepare the Roof Surface
The first step in installing an EPDM roof is clearing off debris, dirt, and old roofing material. A smooth surface is crucial to avoid punctures in the membrane later. Check for any damaged plywood or insulation panels beneath the existing roof structure and replace them as necessary.
Step 2: Install Insulation Boards
Proper insulation not only provides a level surface for the membrane but also improves energy efficiency. Lay compatible insulation boards evenly across the roof deck. Use fasteners or adhesive to secure them firmly in place, ensuring there are no gaps.
Step 3: Measure and Cut the EPDM Membrane
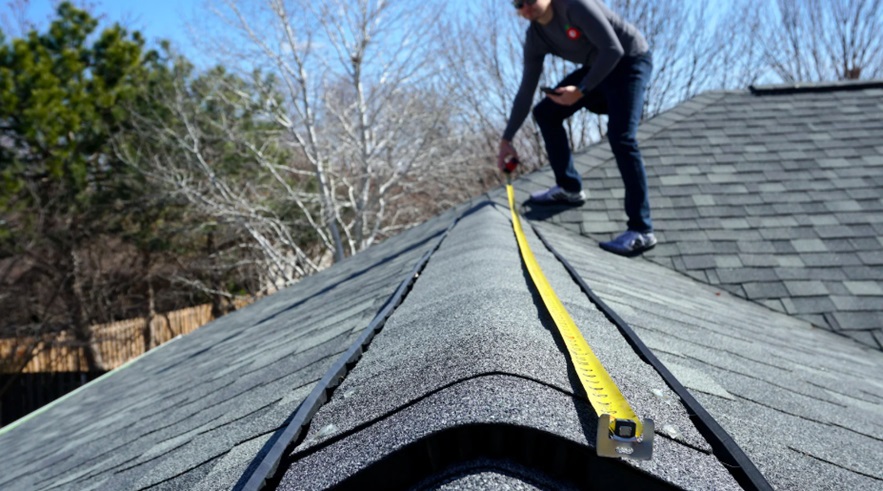
Roll out the EPDM rubber sheet across the roof and allow it to relax for at least 30 minutes. This helps remove any curling from storage. Measure and cut the membrane so it fits your roof dimensions perfectly, leaving a little extra for overlapping the edges.
Step 4: Secure the Rubber Membrane
Once trimmed, begin securing the EPDM membrane to the roof. Apply adhesive to both the roof deck and the underside of the membrane. Work in small sections to maintain optimal adhesion and avoid wrinkles. Use a roller to press the membrane firmly, ensuring there are no air bubbles.
Step 5: Seal Seams and Edges
Properly sealing the seams is critical for preventing leaks. Use seam tape and adhesive along the edges where two pieces of the EPDM membrane meet. Apply pressure to create a strong bond and test for any loose areas.
For professional projects, always ask key questions to ensure your contractor delivers quality work.
Step 6: Install Flashing and Trim
Finally, attach flashing around roof edges, vents, and any other protrusions to provide extra waterproofing. Secure the flashing with appropriate fasteners and seal with EPDM adhesive to complete the installation.
Conclusion
By following these steps, you’ll ensure a successful and durable EPDM roof installation. Known for its long lifespan, energy efficiency, and resilience against harsh weather, EPDM roofing is a smart investment for any property. Its low maintenance requirements and cost-effectiveness further add to its appeal, making it a reliable choice for both residential and commercial buildings. Whether you’re considering a DIY project or hiring experts, EPDM roofing offers unmatched durability and peace of mind for years to come. Take the time to evaluate your needs and explore this versatile roofing solution for your next project.


